Here i'll walk you through building your first scene. You can download and use the pictures in this page as you please to achieve the exact same outcome.
3 Load the background
In this step, You need to load the background (Product) image.
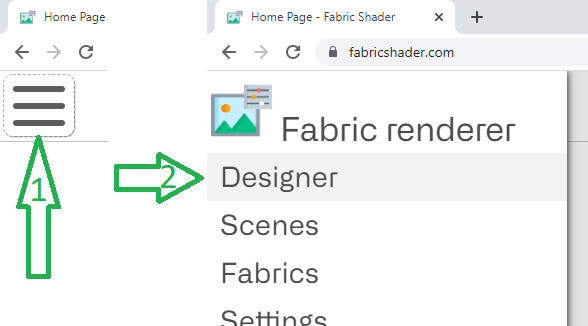
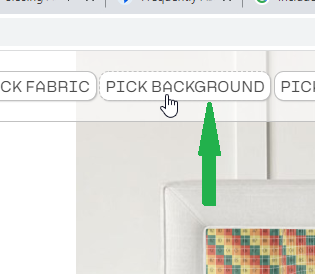
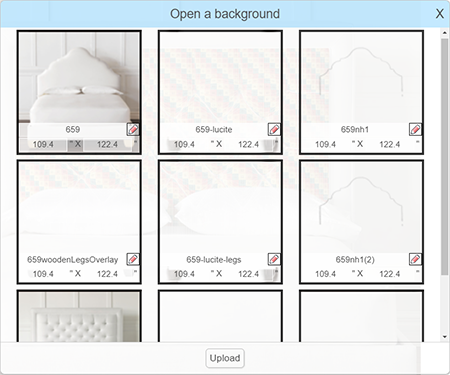
3.1 Open the background window.
In the designer program on the top menu, You can click on "PICK BACKGROUND" button to open a window containing all of your backgrounds.
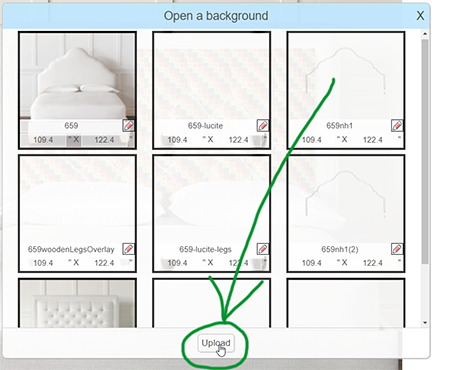
3.2 Upload the background.
If you can't find your desired background image, You can upload a background to get started. Simply click on the upload button and choose your background image file.
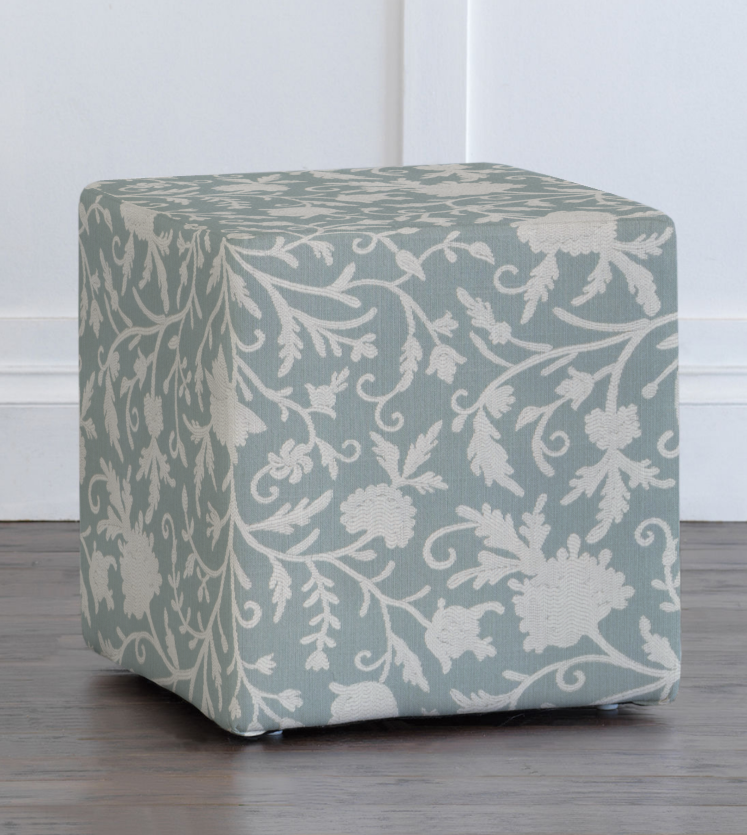
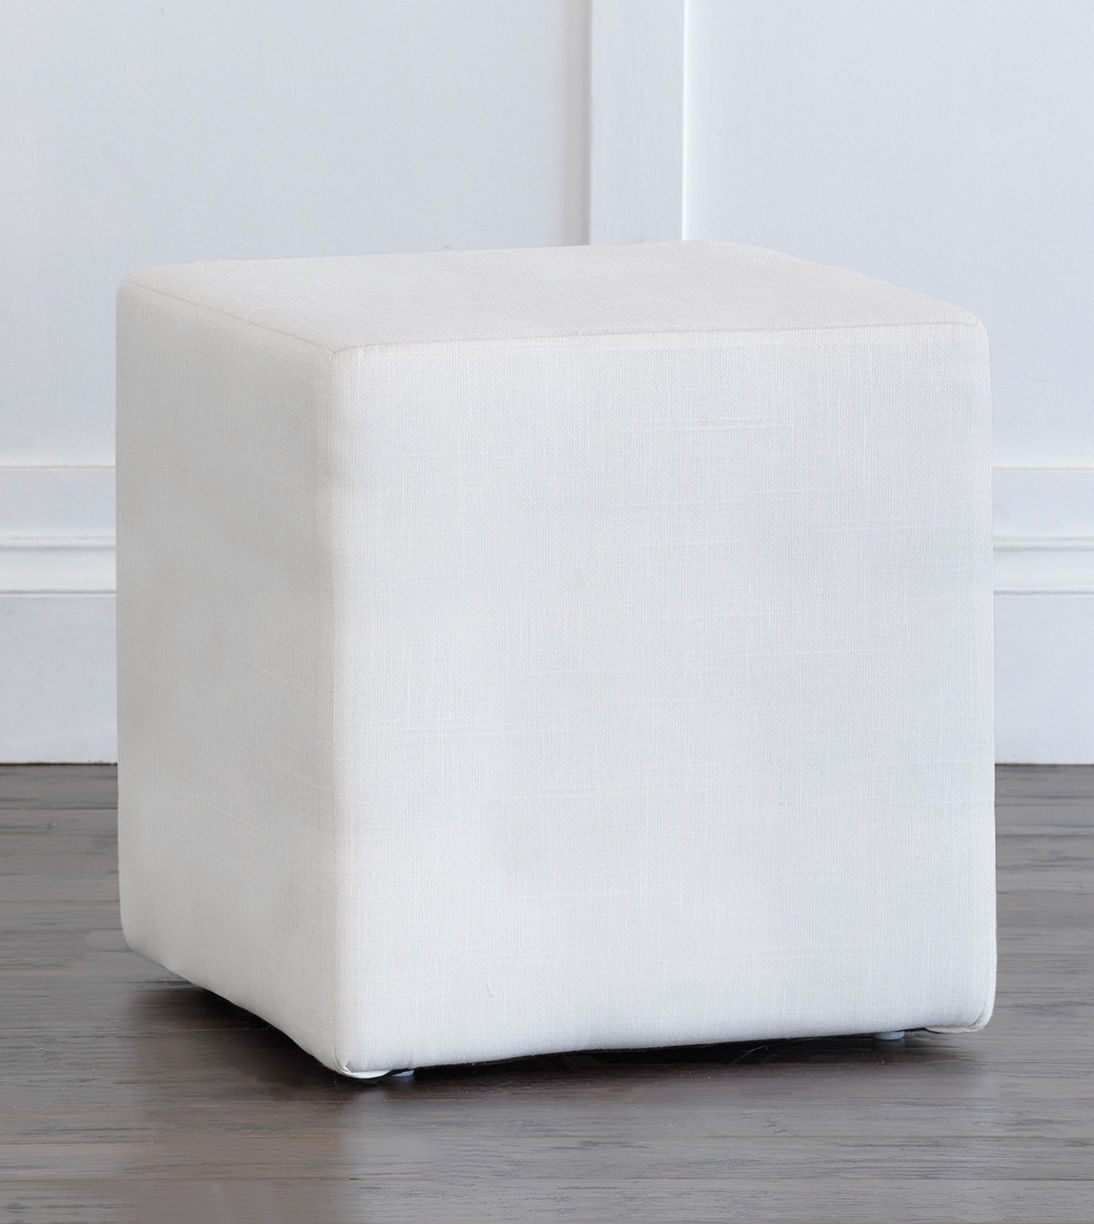
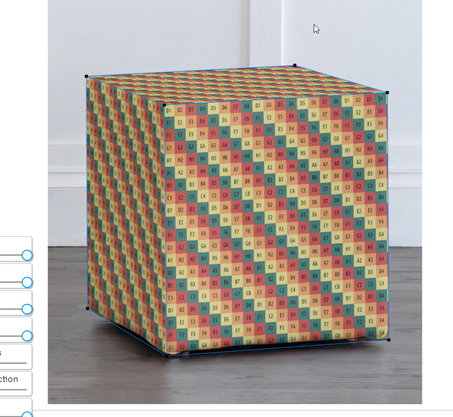
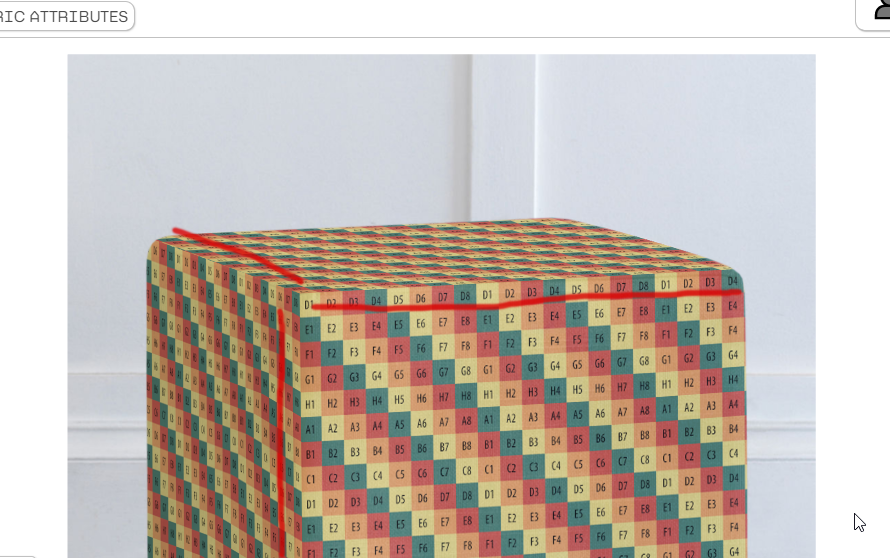
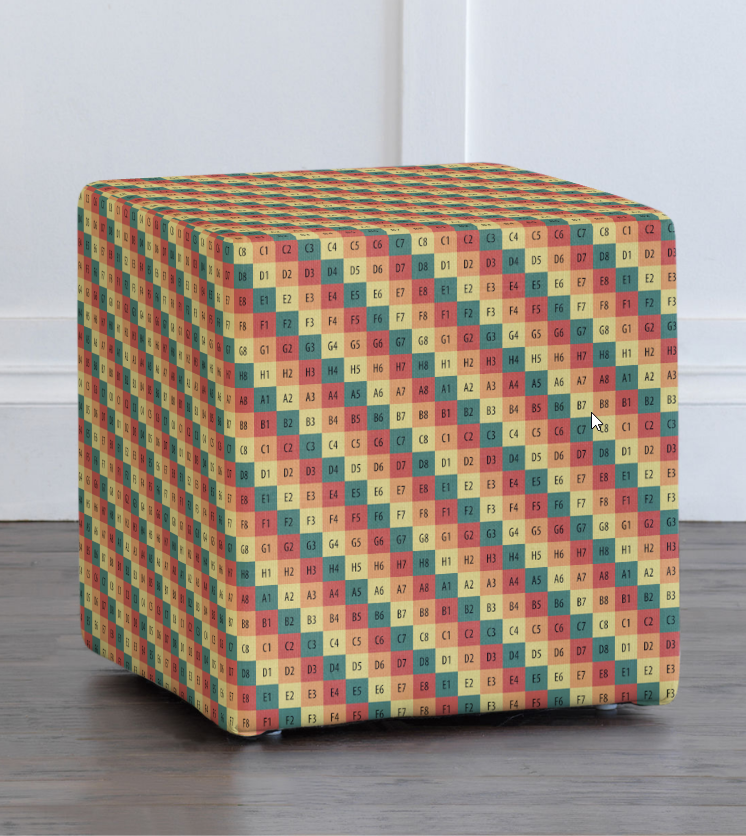
here is a sample background image that you can download and use.
4 Create your first grid
In this step, You'll create your first grid and shape it over the product image.
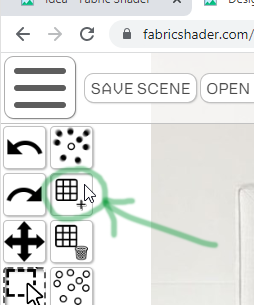
4.1 Create the grid
Simply click on New Grid icon to create a new grid.
4.2 Shape the cut
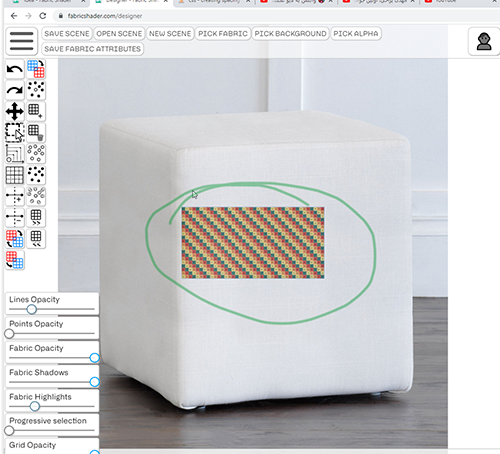
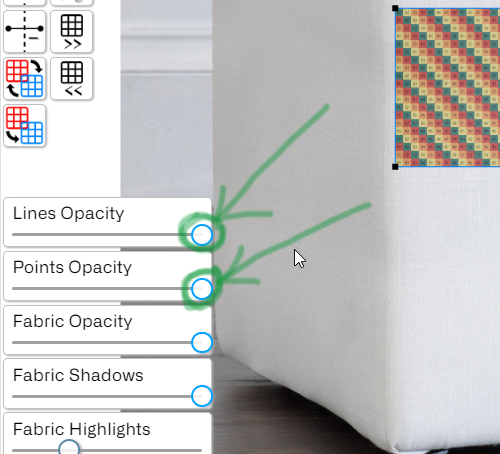
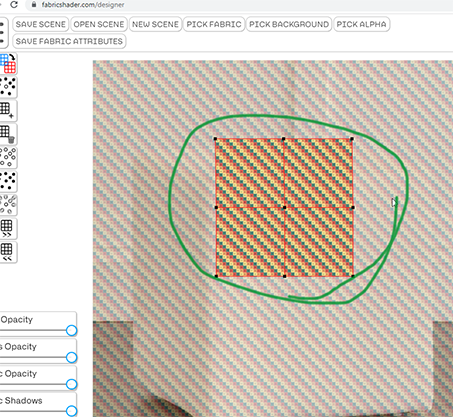
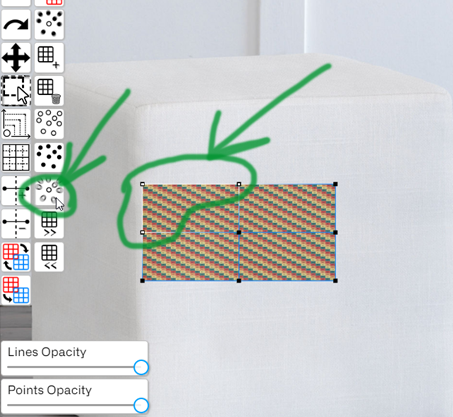
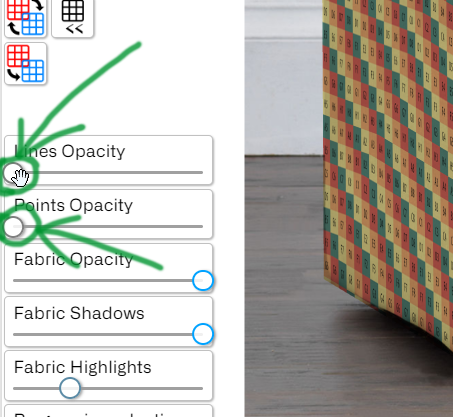
Turn the line opacity and point opacity all the way up for better visibility.
There are two different views for each grid. We use the Red view of a grid to tell the program how to cut the fabric, And we use the Blue view to tell the program how to fold the fabric.
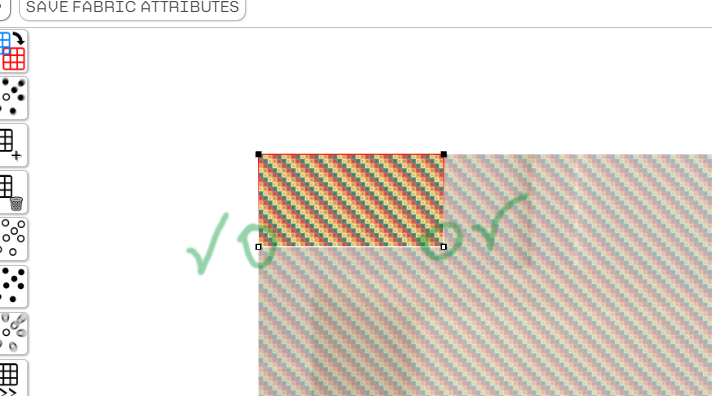
Click on the swap button in order to change into the Red view.

In red view the whole background represents the fabric and anything inside of the red grid represents the cut pattern.
You can use middle mouse wheel to zoom out and have a better view.
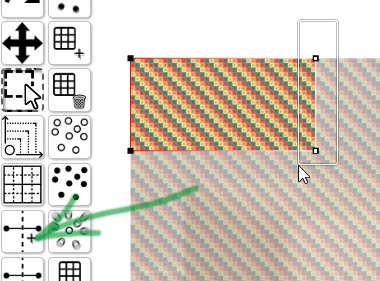
You can activate the selection tool (

) for selecting points. Once the selection tool is enabled, You can draw a white square on the screen
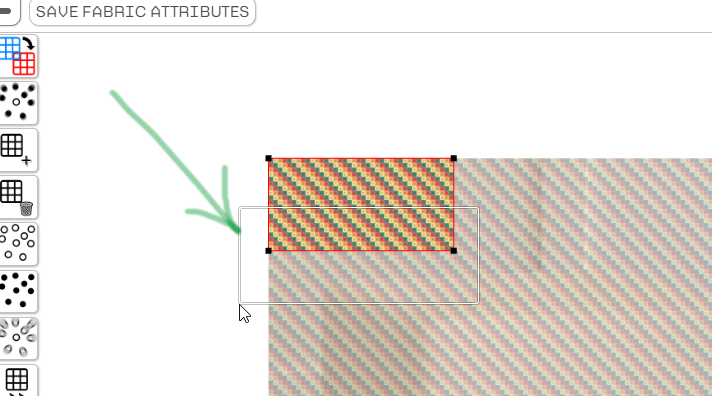
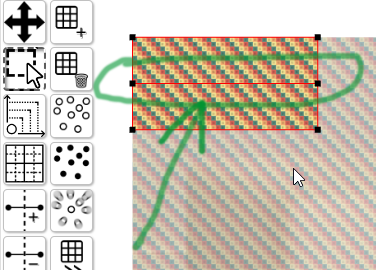
And then all of the points inside of that square will become selected (indicated with white color)
Now you can use the move tool (

) to move those points.
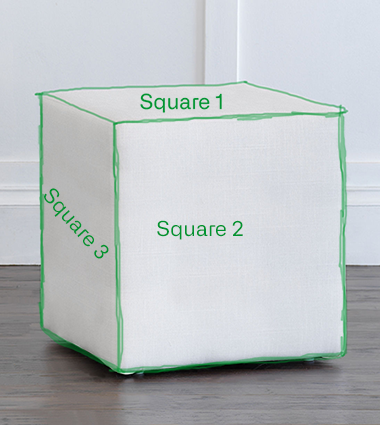
There are total of 3 squares that are visible on the product image, So we need at least 3 squares in our grid.
You can select two points representing a line and then click on Add Line tool (

) in order to add lines.
Place a vertical and a horizontal line just like this picture.
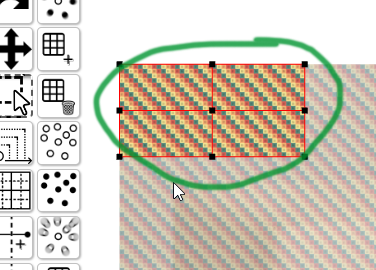
Now move the points to match this picture. 4 Even squares.
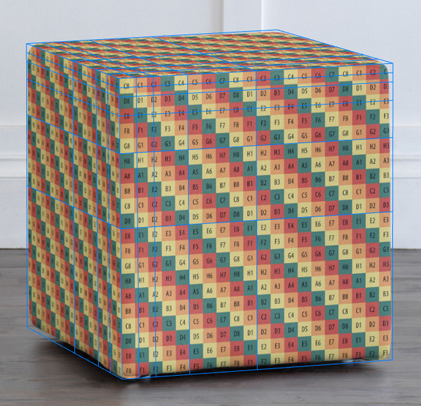
4.3 Shape the fold
Now it's time to swap back into the blue view of the grid. Simply click on the swap icon and now the grid becomes blue.
Each square contains the same amount of fabric. So it should be pretty easy to assign 1 square to each face of the product.
However the product has 3 faces and our grid has 4. We should weld these 3 points by selecting them and clicking on the weld icon (

) in order to end up with 3 squares.
To do that simply use the selection tool and Hold SHIFT button on your keyboard to select all of these 3 points
And then simply click on the weld button.
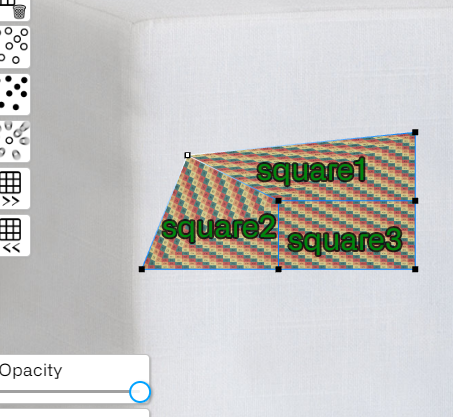
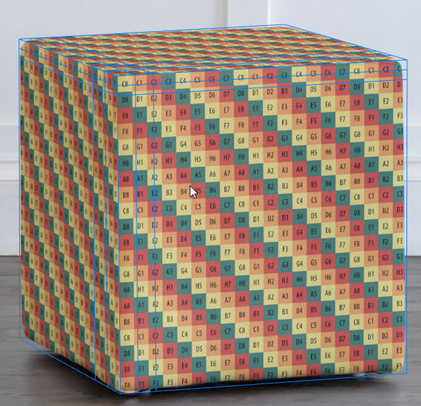
Now you can move each of the points to their place on the product image to complete the shape of the grid in Blue view.
Now you can reduce the line opacity and opint opacity back to 0 to have a better look at the result.

5 Add alpha mask.
As you see, The final grid shape does not match the product shape perfectly.

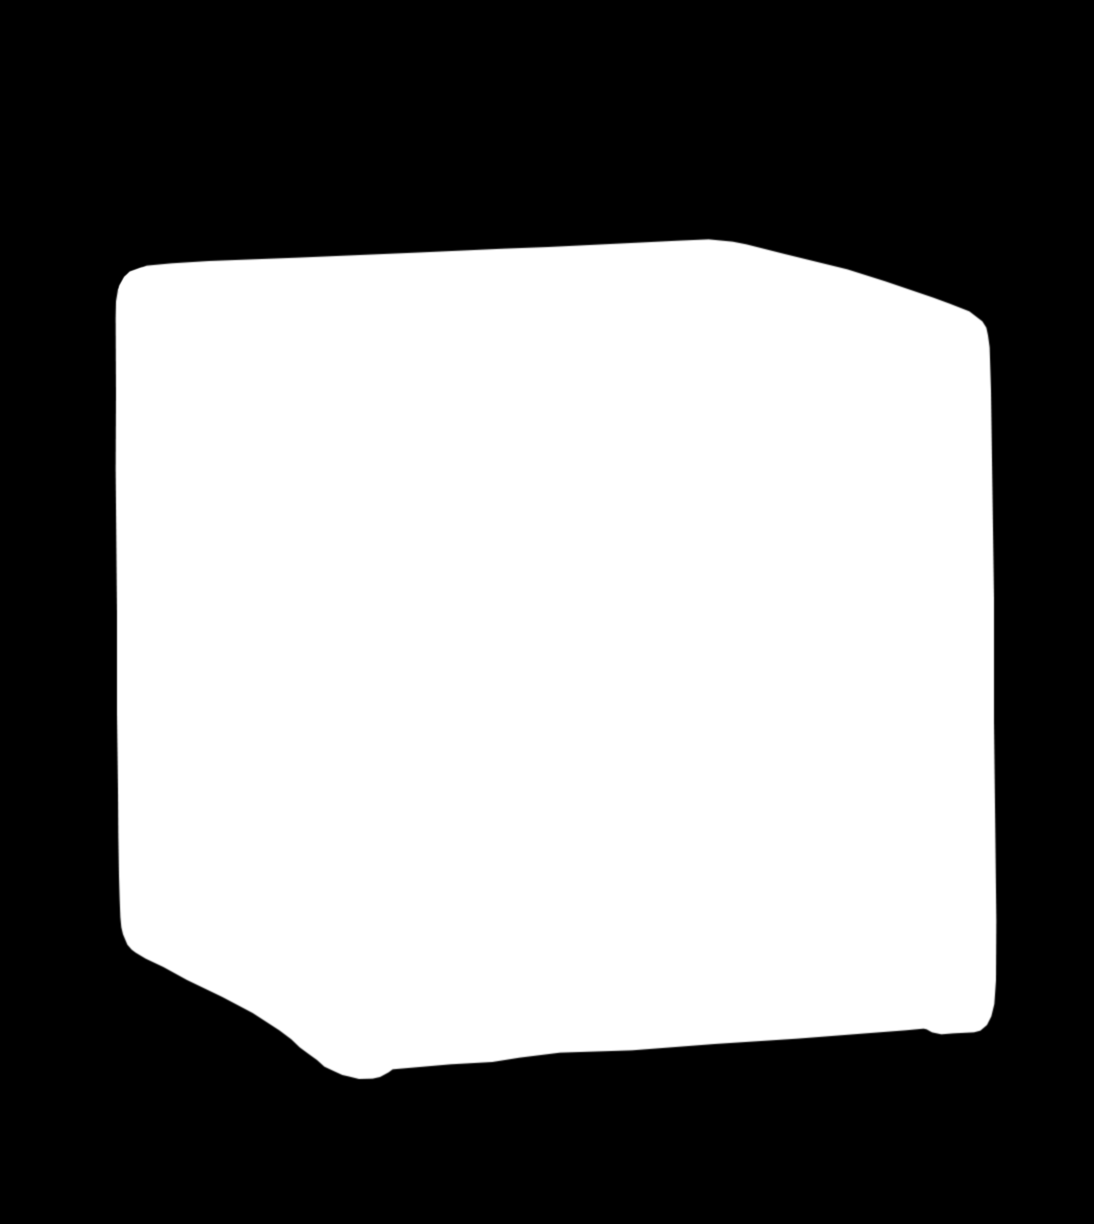
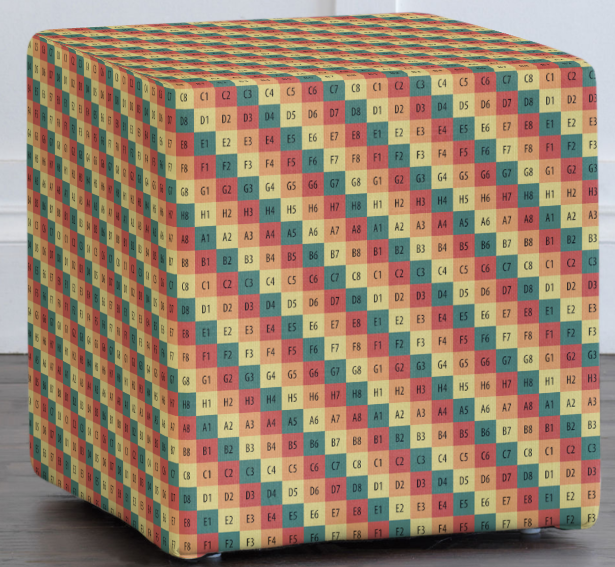
We could use an alpha mask to resolve it. Simply click on "PICK ALPHA" button on the top menu and use this alpha mask to mask out excessive parts of the grid.
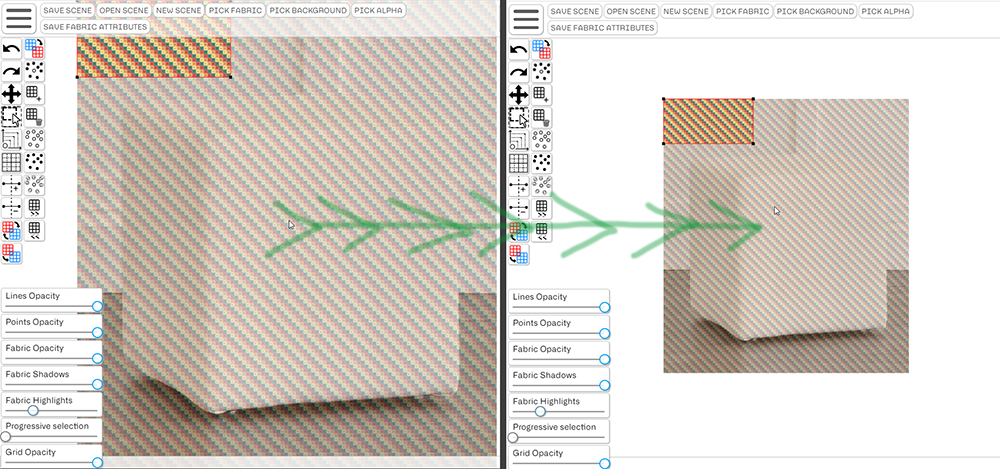
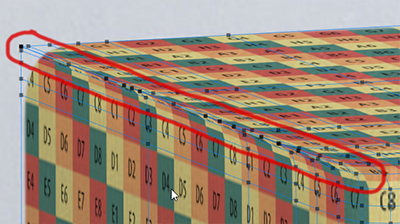
6 Smoothing out edges.
As you see, The result has very sharp edged which does not match soft and round edges of the product.
We can resolve this by using the automesh button, However the automesh button will smooth out areas with less lines more.
So in order to preserve the details we need to add more lines. Start by adding few lines as close to the edges as possibe.
And now you can remove the lines that are far from edges.
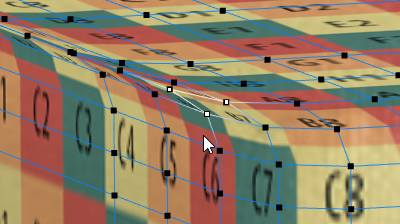
And then click on Auto Mesh Icon.

Some of the lines we welded previously has been opened op again after applying automesh.
To fix that, Simply zoom in and weld those points again.
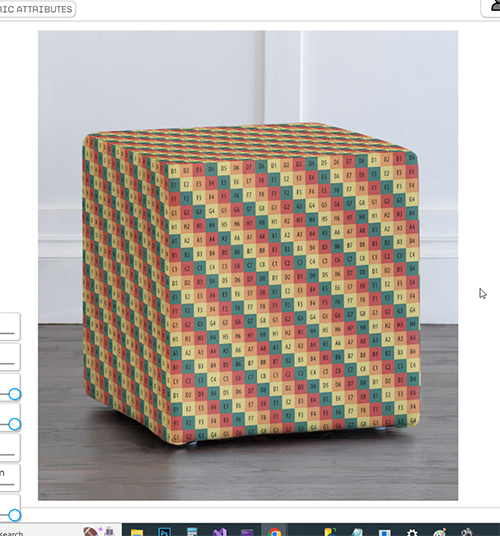
Let's try another fabric to see how it looks